AuriHome
AuriHex™ Light Panels
AuriHex™ Light Panels
Couldn't load pickup availability
Transform your walls into a stunning light setup.
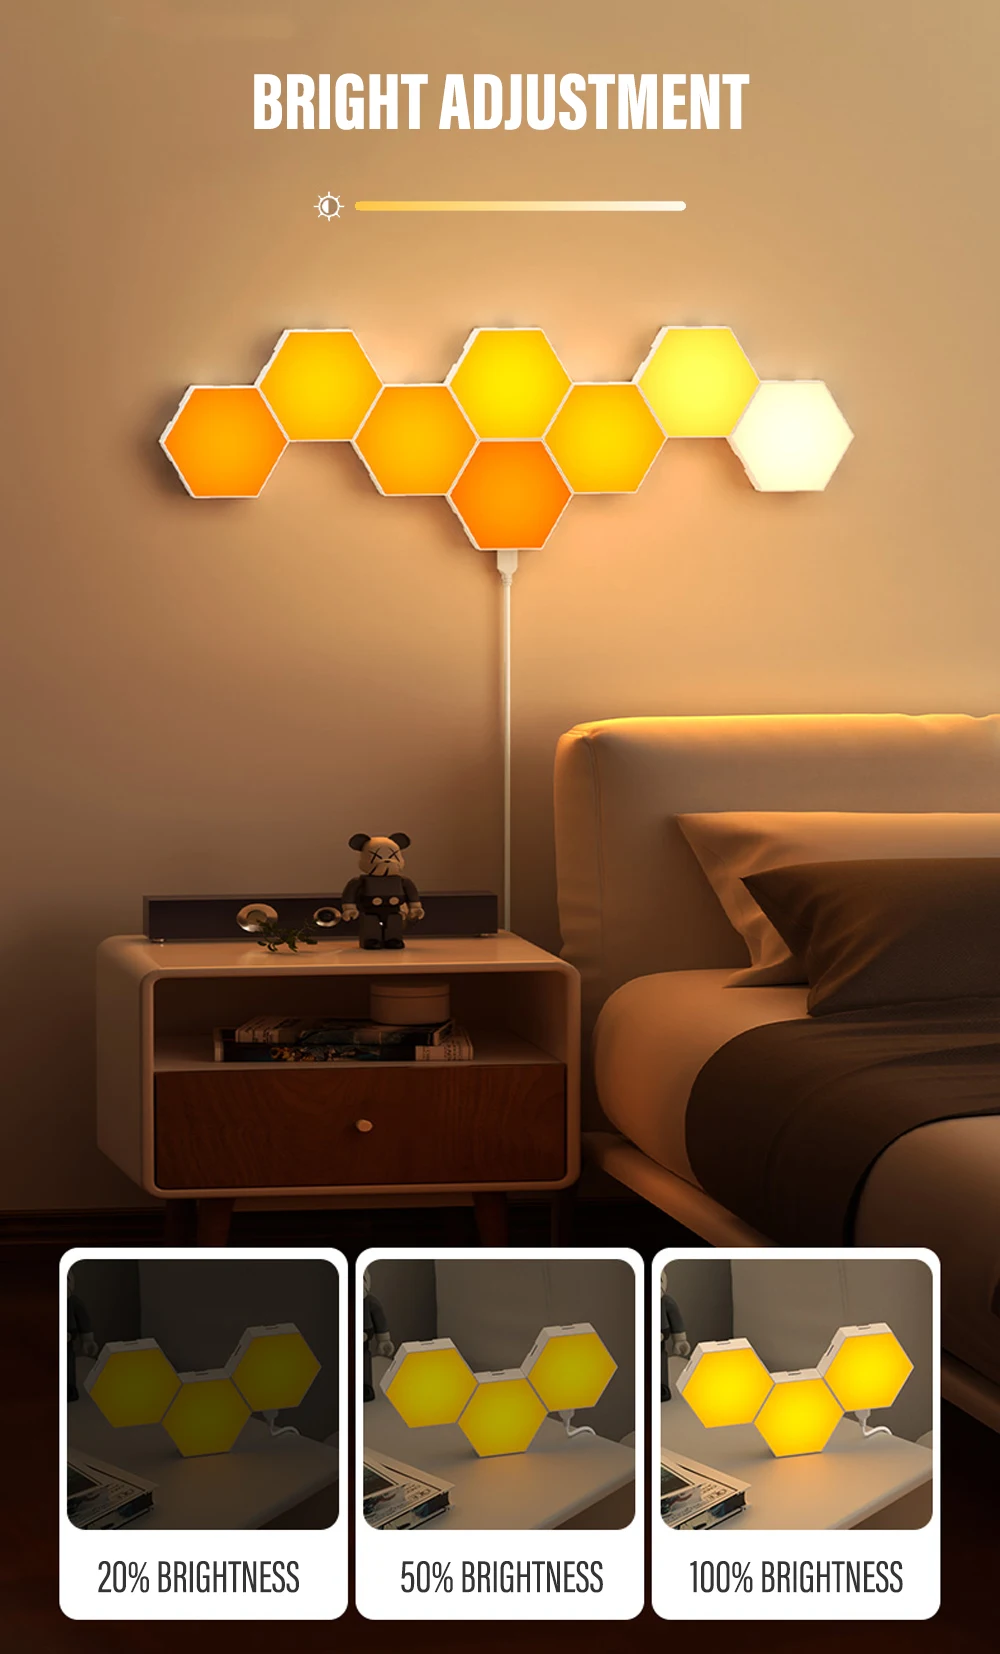
The Auri Home Hexagon RGB Panels turn any room into a modern and immersive space. Whether you’re gaming, relaxing, or decorating, these lights create a unique atmosphere that instantly upgrades your setup.
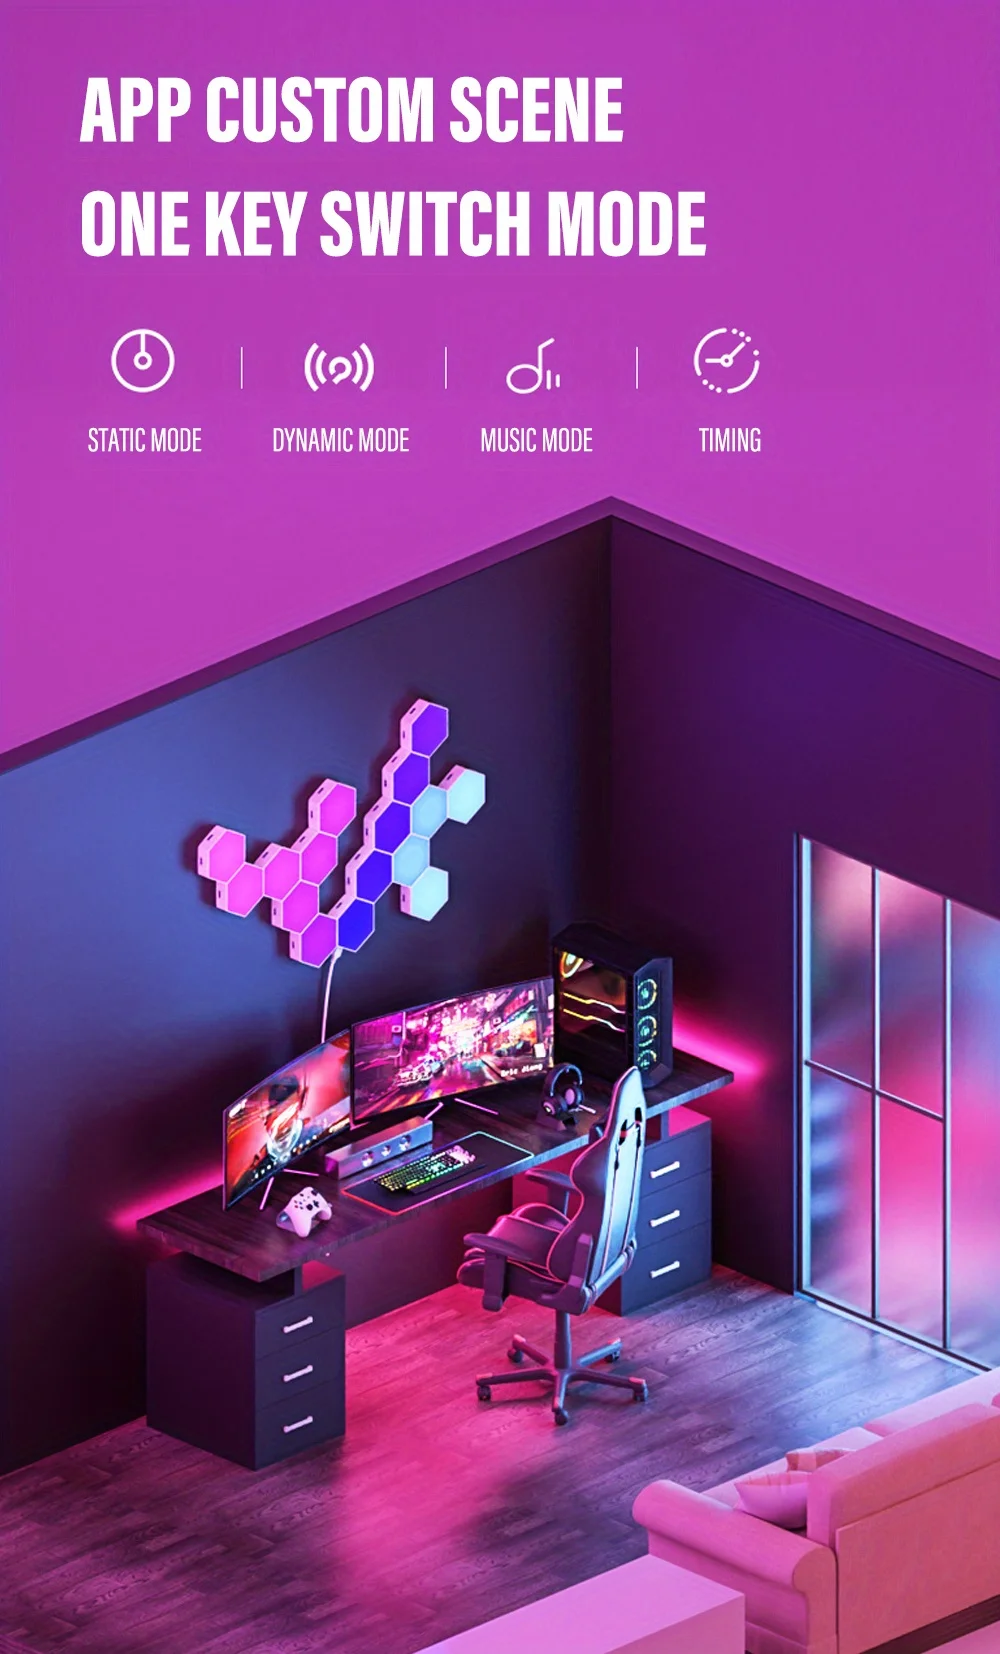
Design your own patterns and bring your walls to life with dynamic colors and effects.
✨ Why you’ll love it:
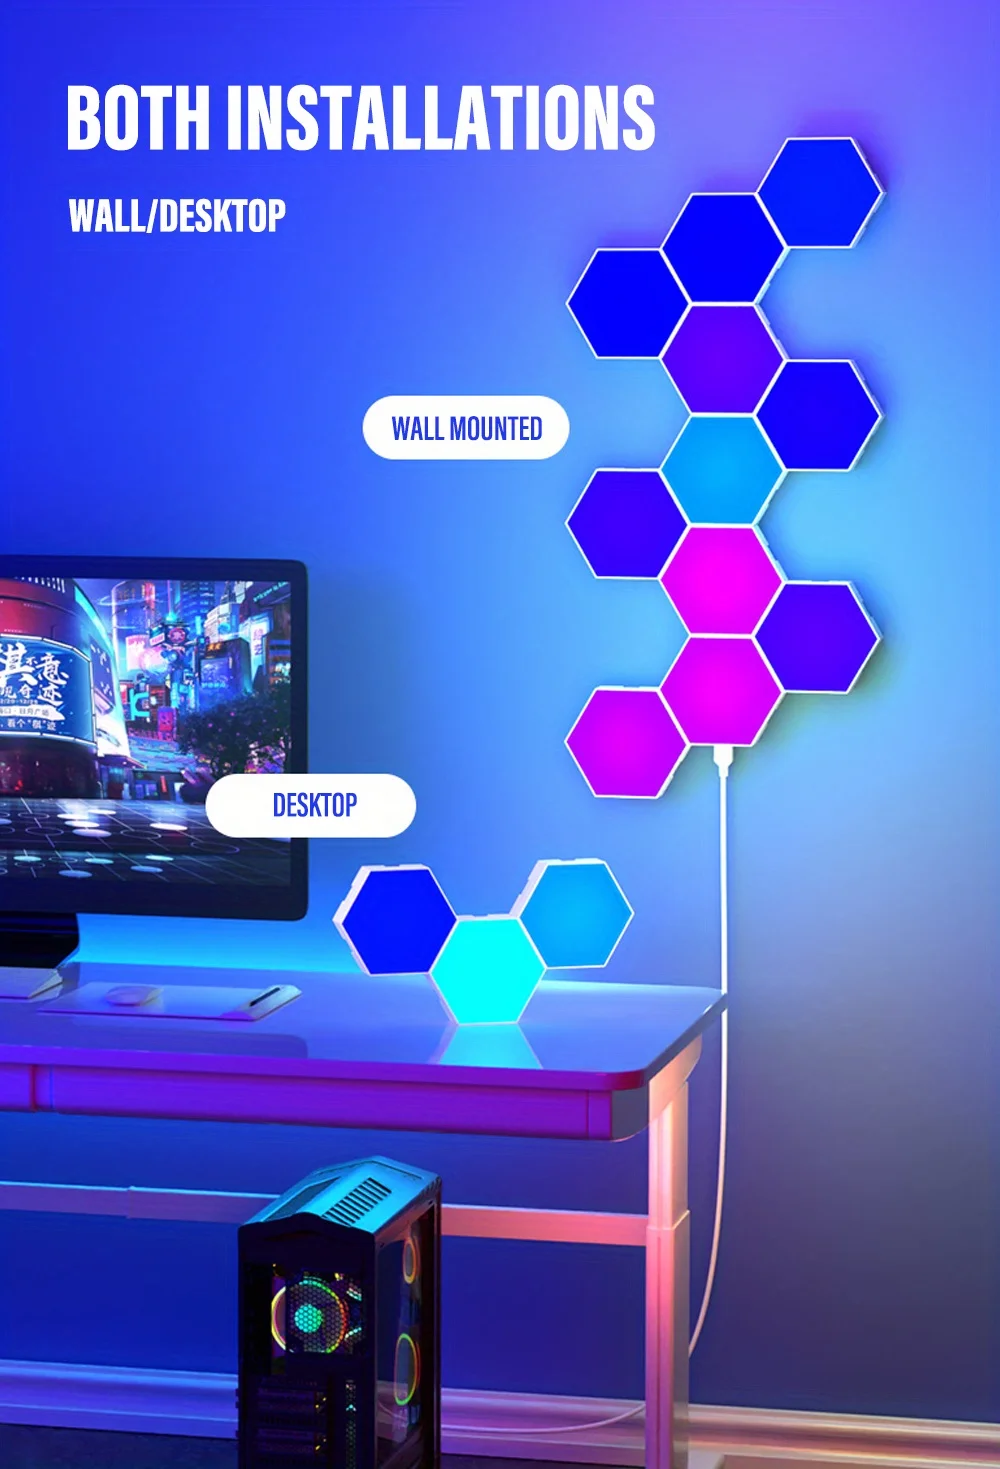
• Customizable hexagon design for your wall
• Vibrant RGB colors with multiple effects
• Perfect for gaming setups and aesthetic rooms
• Easy to install and rearrange
• Creates a unique and modern vibe
Take your setup to the next level.

If you need to use a power adapter, please use a 5V-2A power adapter. Otherwise, the power may be insufficient.
In order to ensure that you can receive the goods faster, we will send air transport, so our products are not equipped with batteries in the remote control. Please prepare a CR2032 button battery in advance after purchase, so that after receiving the goods, you can install it inside the remote control to use the remote control.


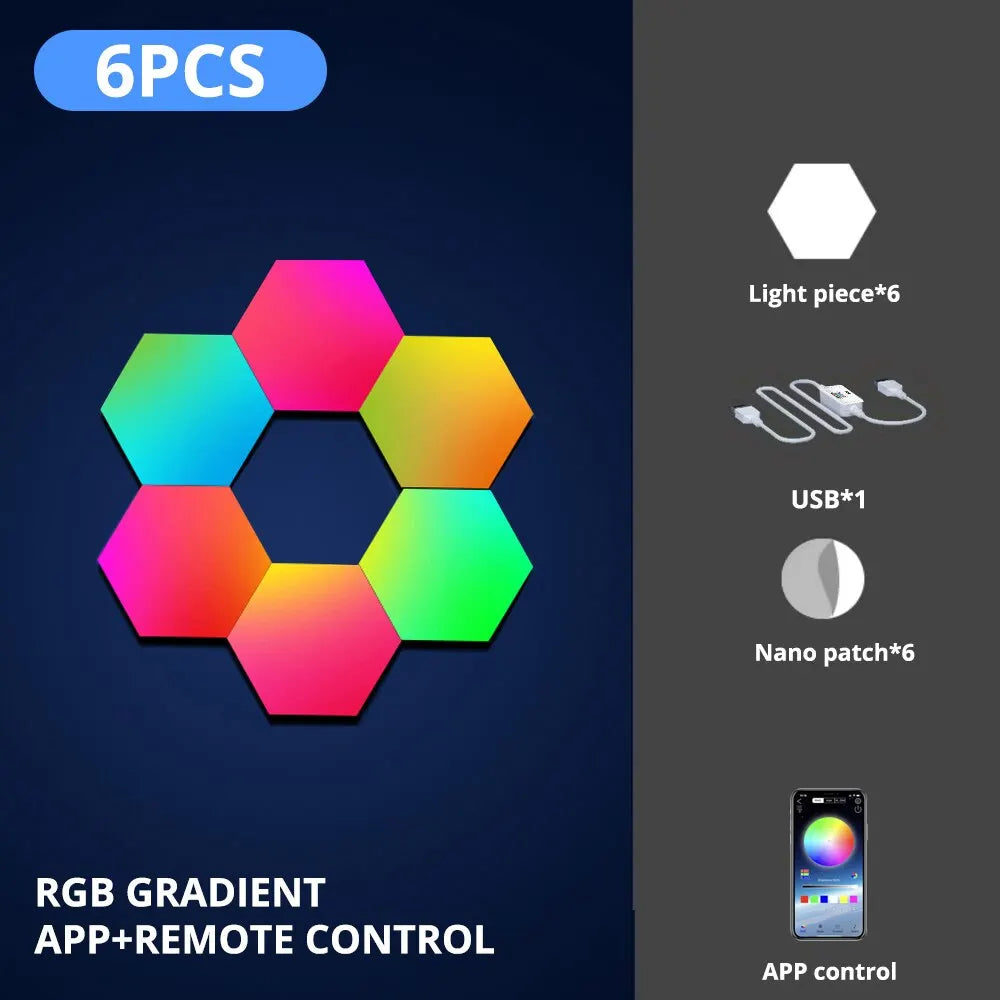
Basic parameters :
Control mode: APP/RF type/keypad type
Operating temperature: -20 degrees to +60 degrees Power: 1.5W/chip
Power supply voltage: DC5V
(Each DC5V 2A power supply can load 15-20 modules)
Application places: study, living room, bedroom, nightclub or bar, KTV, gym, music bar or restaurant, coffee shop and other home and commercial places.
1. Please make a model layout plan or pre-model on the desktop in advance and determine the location of the drive control line entrance.
2. Tear off the release paper on one side of the double-sided non-marking adhesive and stick the double-sided adhesive to the center of the back.
2. Tear off the release paper on one side of the double-sided non-marking adhesive and stick the double-sided adhesive to the center of the back of the module, then tear off the release paper on the other side for installation.
3. First locate the Drive Control Line Entry Module, then insert the arrow-pointing end of the connector (NEXT end) into the Cascade Module and the "PRE" end of the connector into the previous module.
Insert the "PRE" end of the connector into the previous module in the order shown in the modeling diagram to complete the installation.
4. Plug the USB end of the drive control cable into the first module, then plug the other end of the drive control cable into either of the pickup's corresponding signal output ports and power the power adapter to complete the installation.

🚚 Fast Shipping
Delivery in 7–12 days
💸 Money-Back Guarantee
100% refund if you're not satisfied
🔒 Secure Checkout
Safe & encrypted payment